
My last experiment with building a MIDI controller, about a year ago, was to see if there’s any benefit in using larger knobs for MIDI controllers.
I’ve always hated those tiny little plasticy cheap-feeling knobs packed close together that seem to be used on most MIDI controllers. I’ve found that depending on where you’re sitting or standing, it sometimes takes two grabs to make a complete revolution on them, with a pause in the middle, and it’s difficult not to bump the surrounding knobs as well. It can make for some frustrating moments when you’re trying to map each control to something in your DAW.
Plus smaller knobs give poor resolution and positional feedback to the user when turning, compared to larger ones. I also can’t help but feel that those huge vintage-looking knobs add part of the charm to vintage audio equipment.
So I bought the largest knobs I could find at Jaycar Electronics (did you know knobs are surprisingly expensive!) and made up a panel of 8 of them, using a Livid Instruments Brain V2.
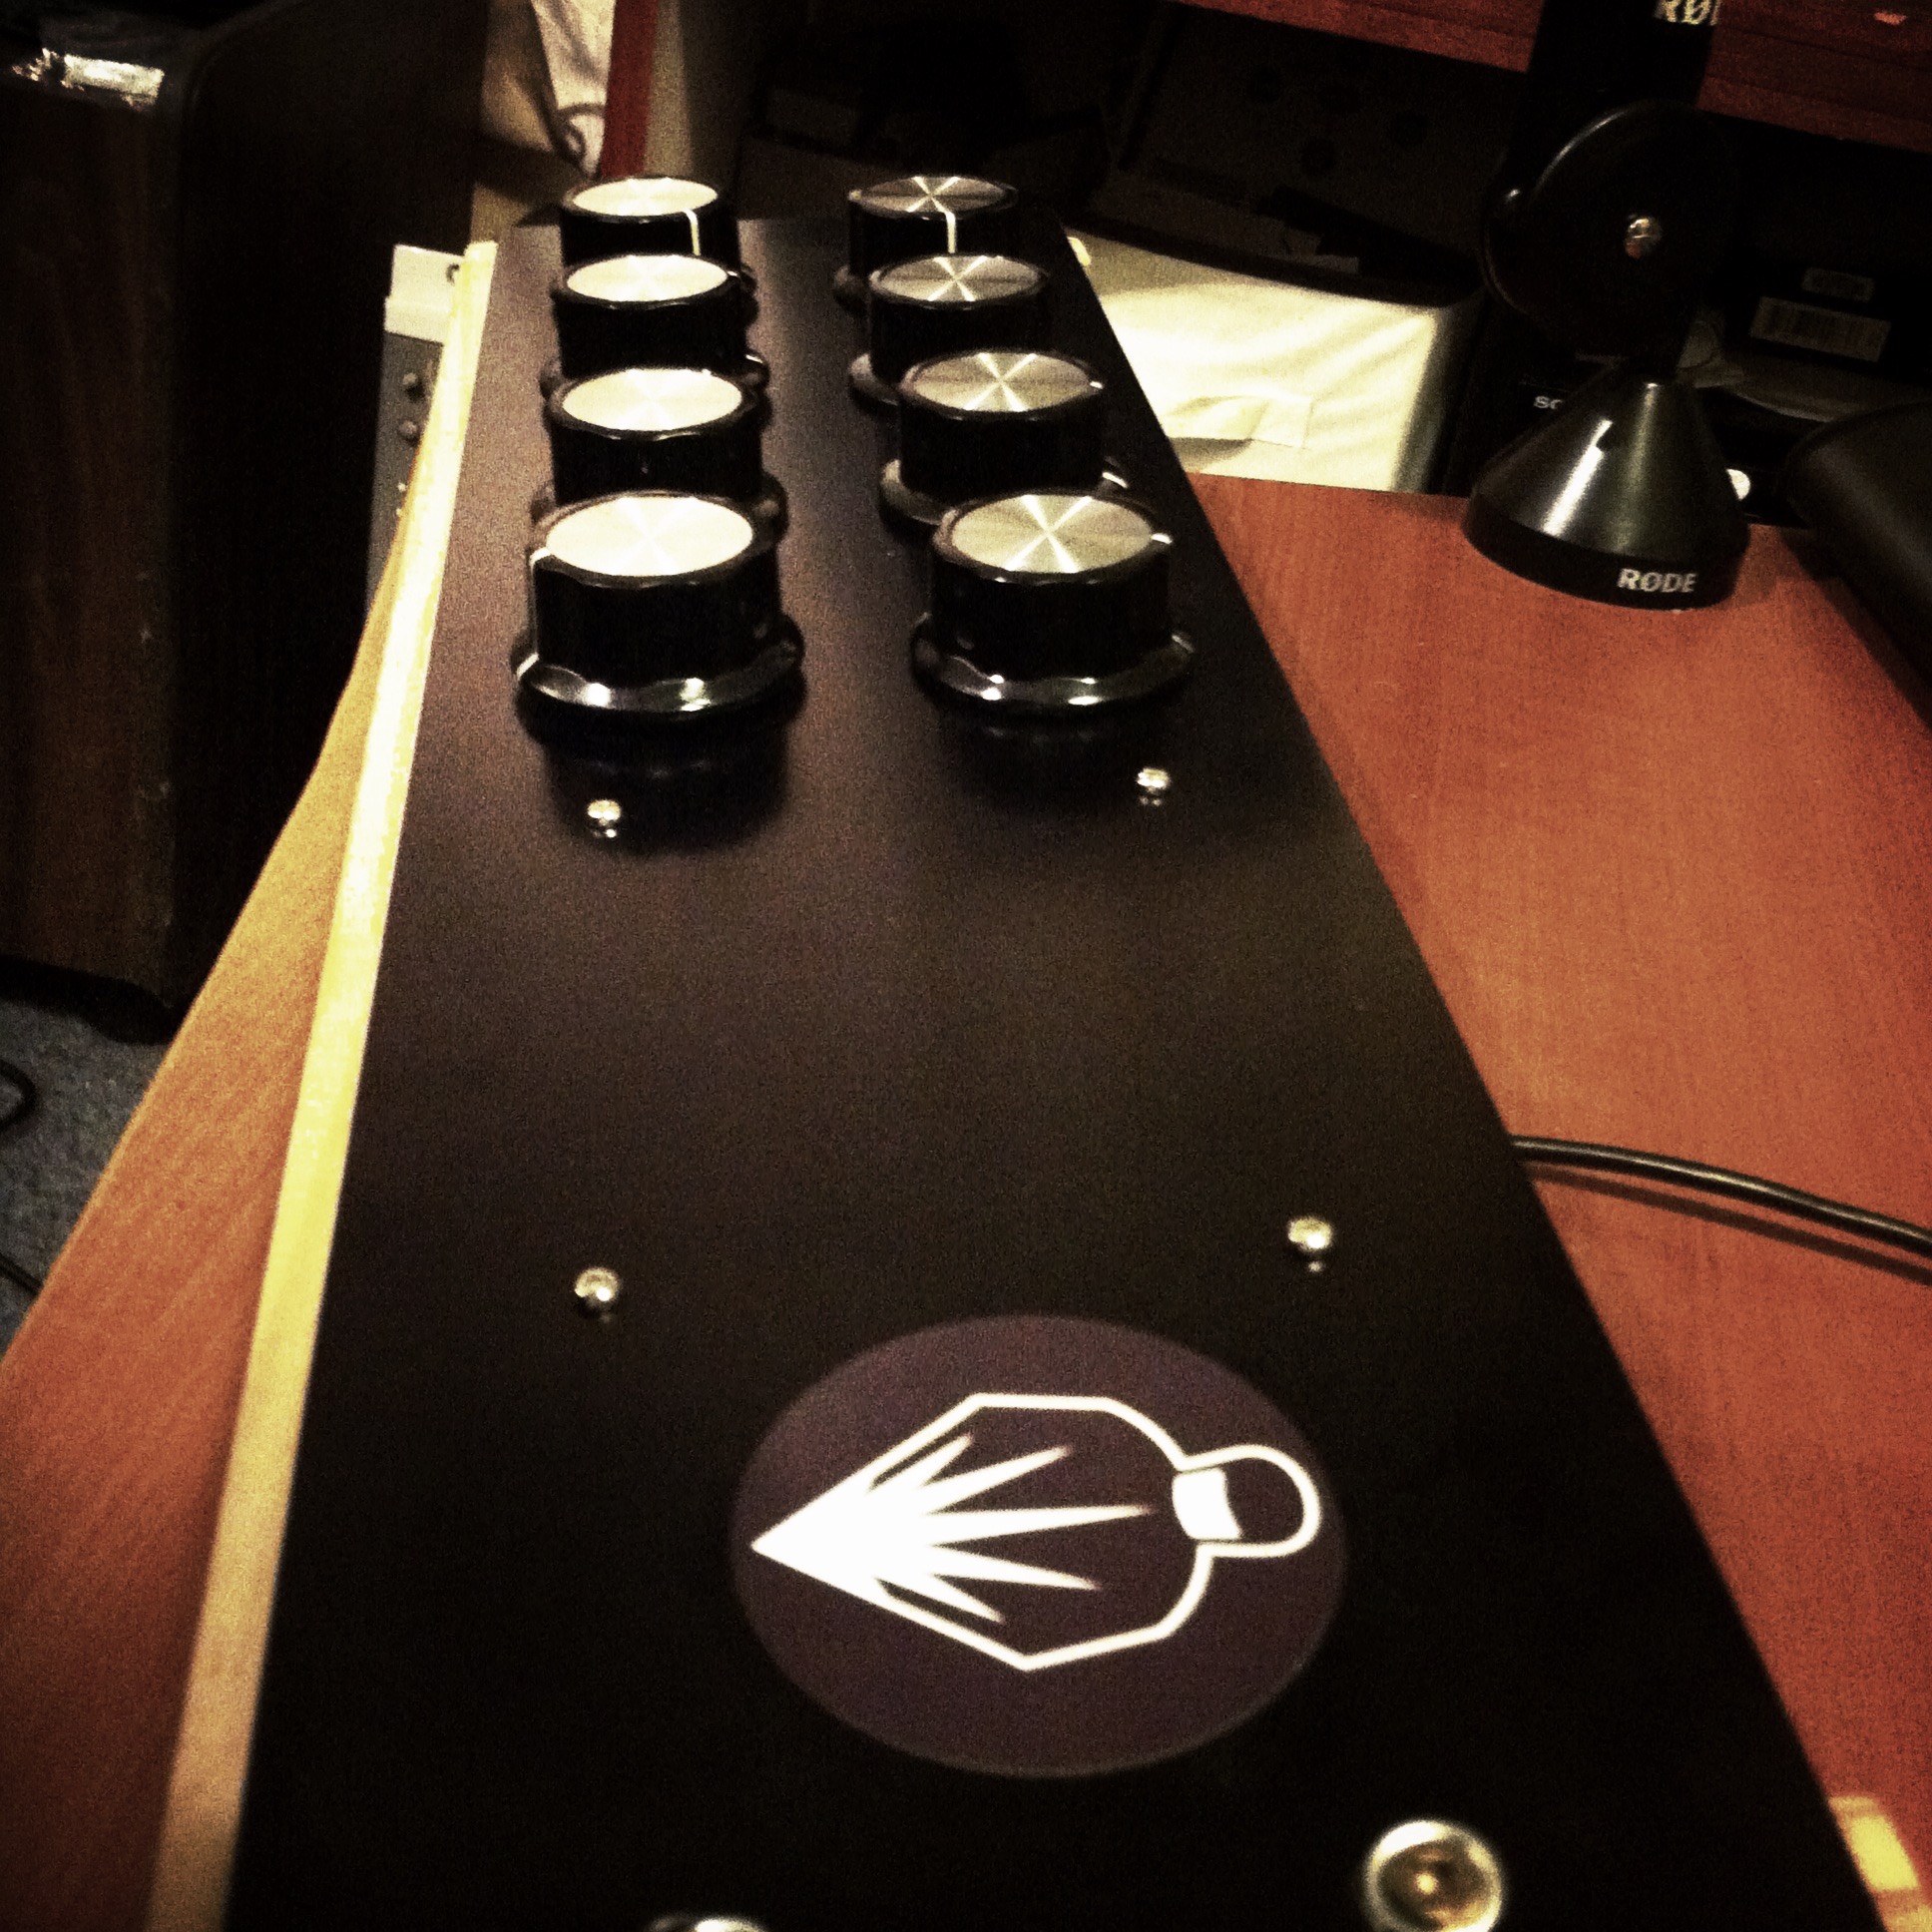
It was pretty good actually – those huge knobs gave a silky-smooth and super-accurate response when controlling parameters in Logic Pro X.
So I worked with it for a while, but to be honest they were almost a little TOO large, and I wanted a couple more of them on the panel to get more convenient mapping to Logic’s Smart Controls. Additionally, I wanted some buttons on there for triggering drums and sampler sounds, plus a few old-school toggle switches just in case.
So – off to Jaycar once more to buy another load of second-to-largest knobs in stock and few other components that I needed for it. In the end I ordered a pre-assembled RGB Button-Pad from Livid – they were on sale that week and I couldn’t be bothered fiddling around too much constructing my own from scratch.
So my second version of the MIDI controller came together. I also decided to retain a single large knob on the right of the unit for Logic’s Automation Quick Access (AQA) function – basically for recording and editing automation in my tracks.
Here’s the second prototype:
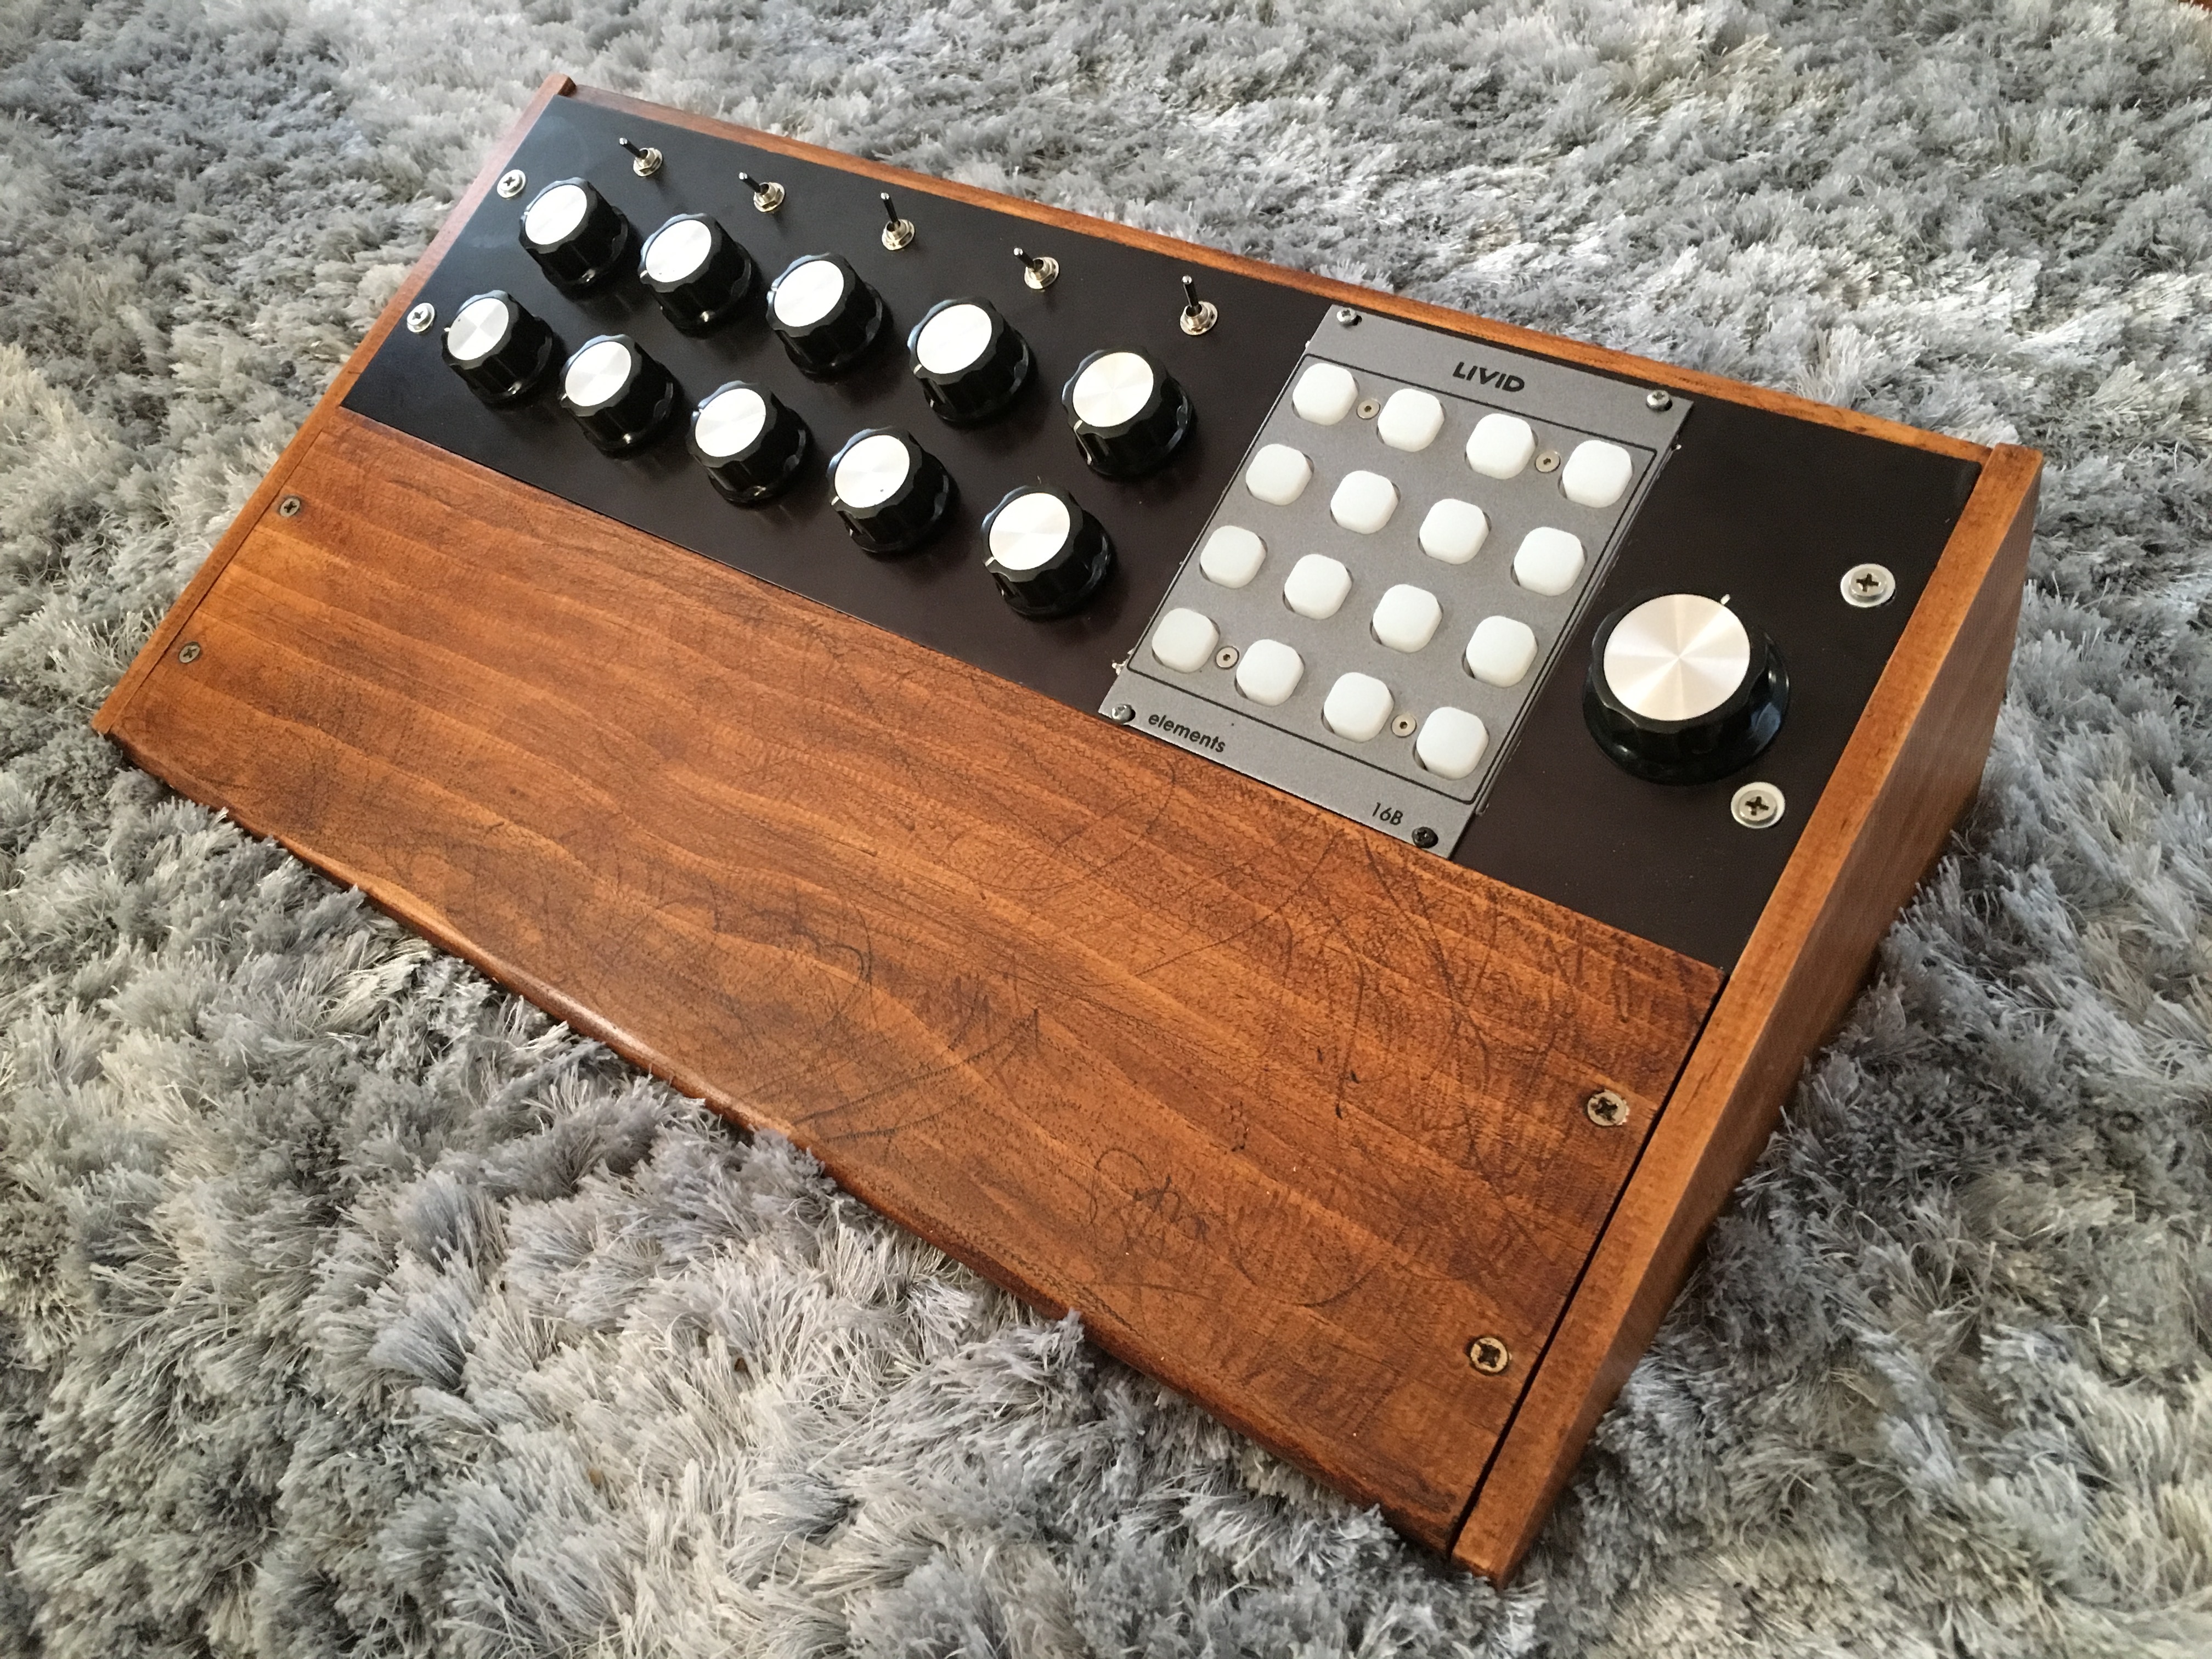
I also put together a more vintage-looking wooden surround for it. As you can see I went for a vintage “distressed” look. Actually – this was only semi-deliberate, since I was missing some essential metal-and-woodworking tools in my workshop. Apparently the Renovation Tool is NOT perfect for everything.
The wiring was relatively simple, although it looks suitably impressive in the photos.
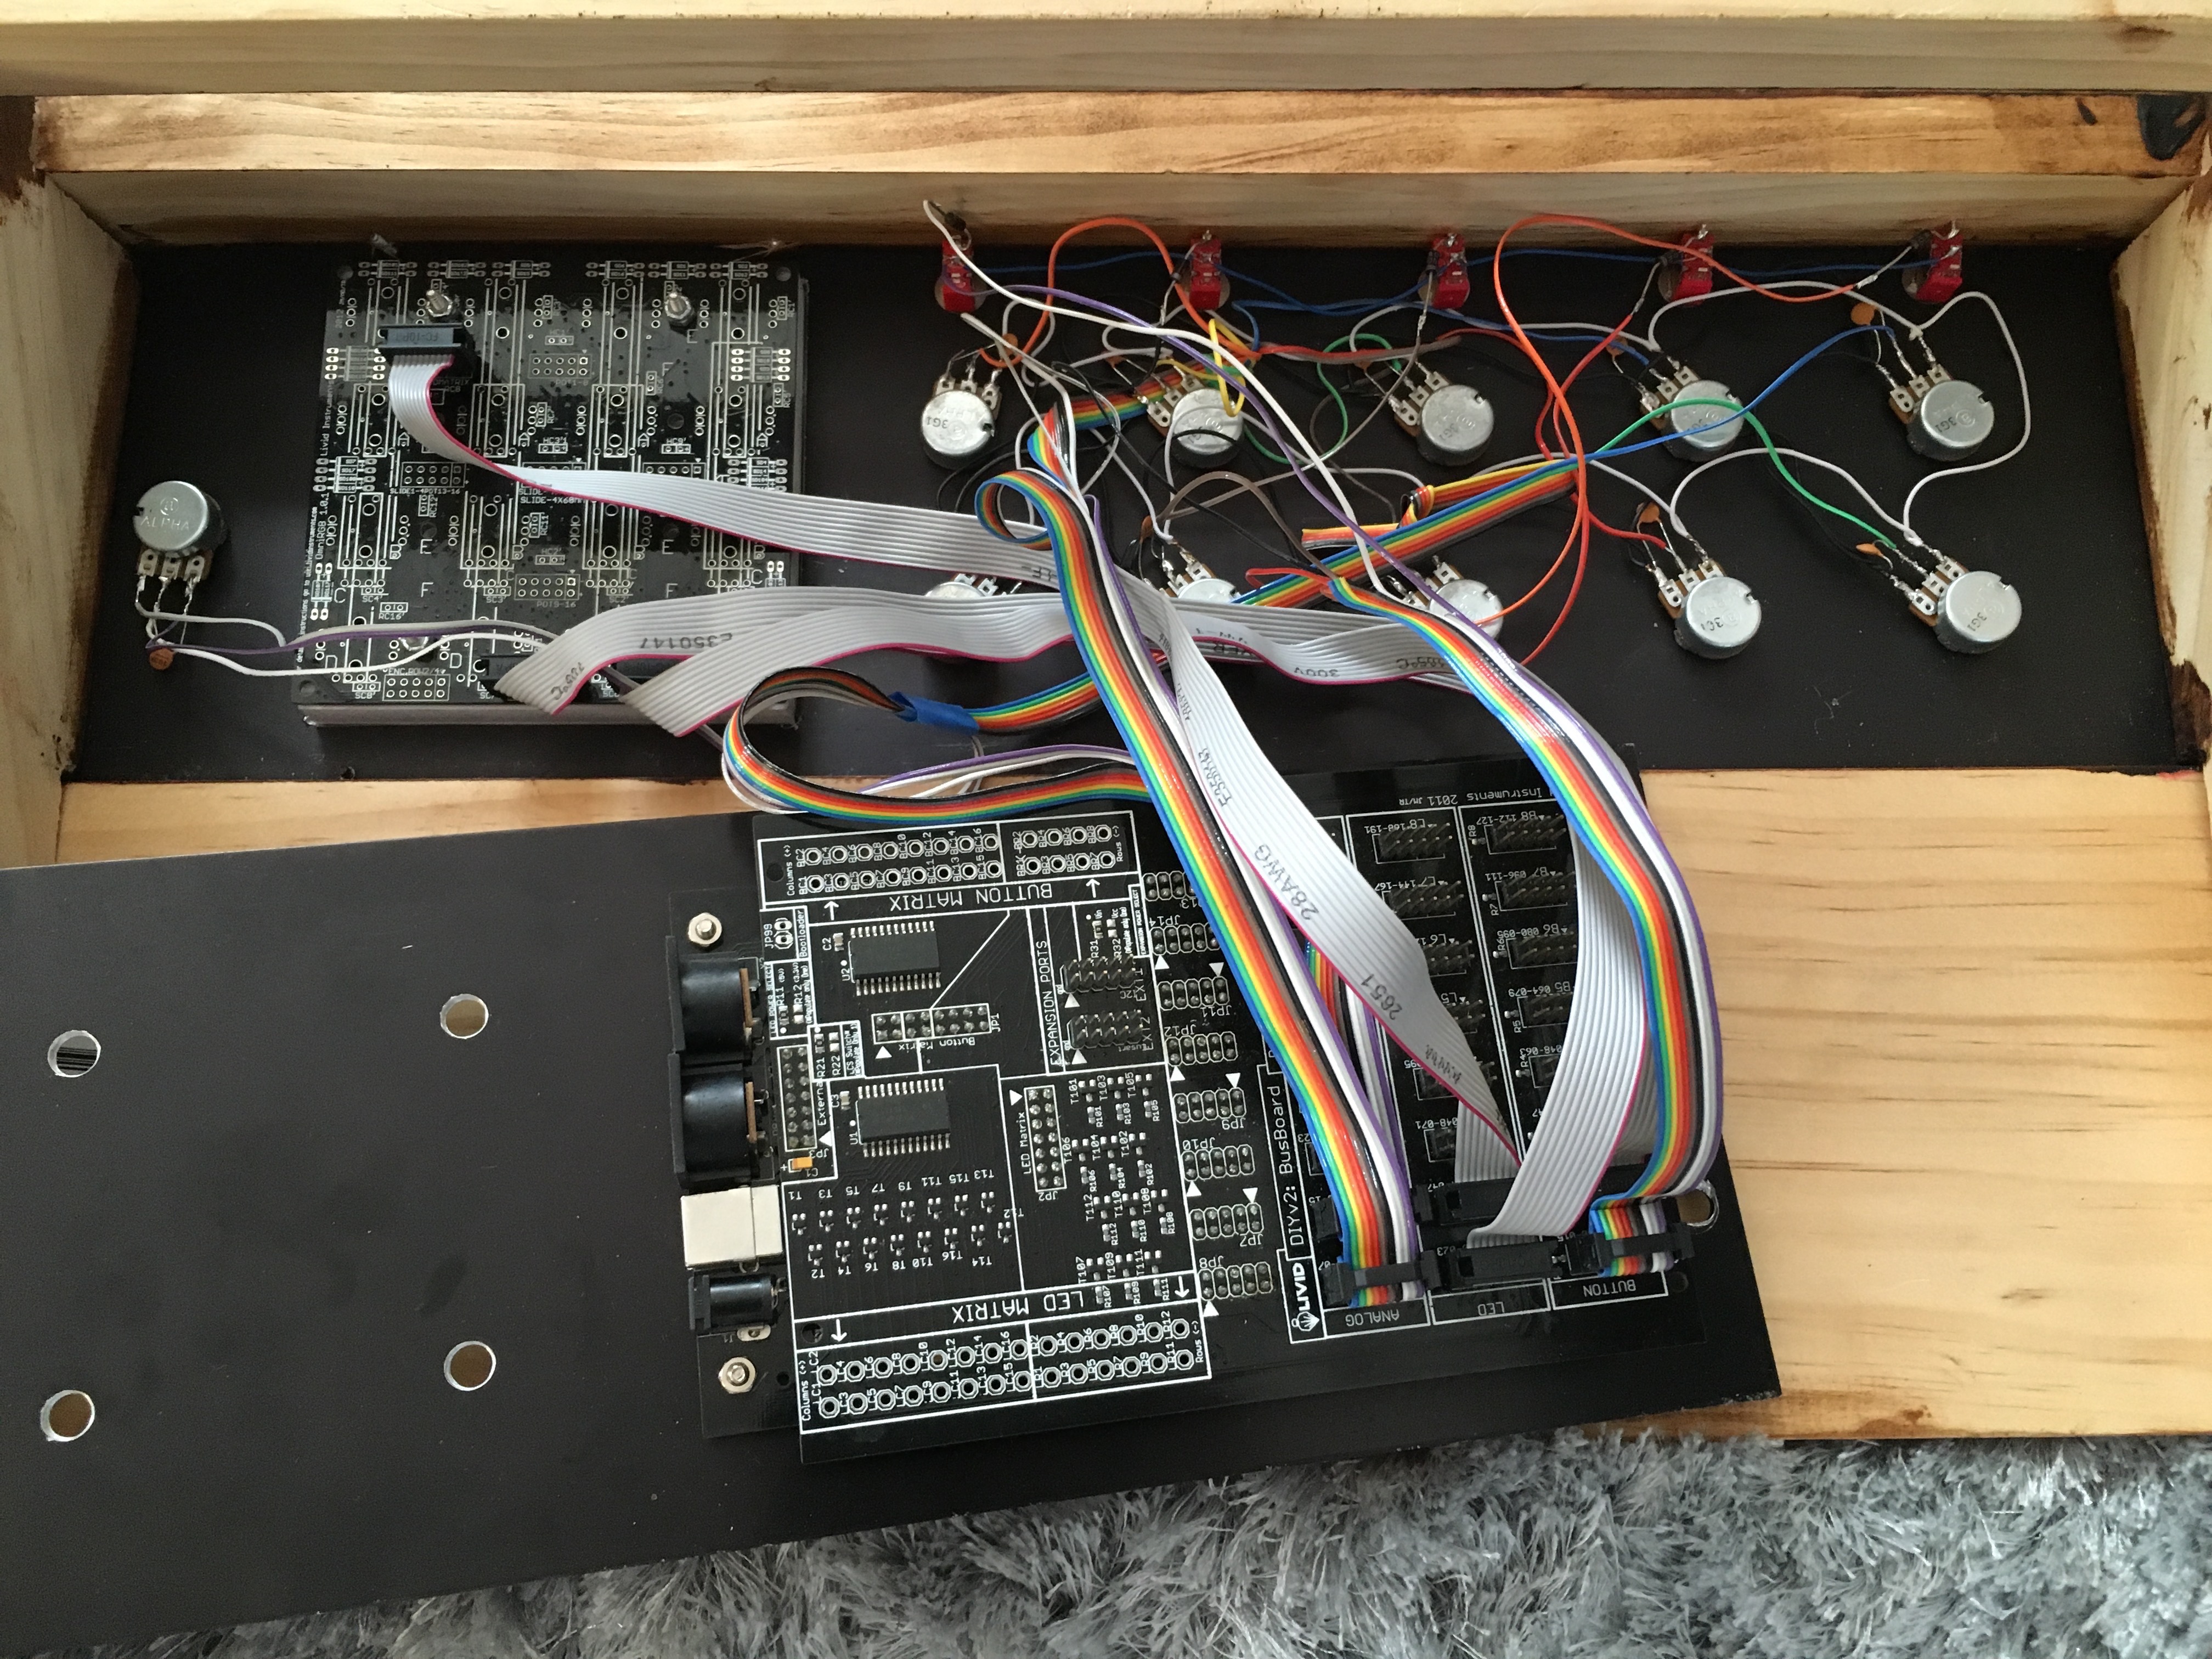
There was a bit of soldering involved of course, but each pot can be re-mapped to a different MIDI controller number via Livid’s Brain Configure tool if necessary. In my case it was, as I had plugged the ribbon cable headers in the wrong order in my excitement to try it out. It was much simpler and faster (a few seconds) to remap them in my studio than to remove the unit , open it up and then switch the plugs.
Despite the rough edges, the constructed unit is good enough to get an idea of how the final unit will be constructed, and everything works fine. It looks great in my home studio and it adds a nice degree of analogue vibe even though it’s digital.
My next goal is to get hold of some decent woodworking tools to make a tidier version of the case, and maybe brand my own logo on there somewhere.